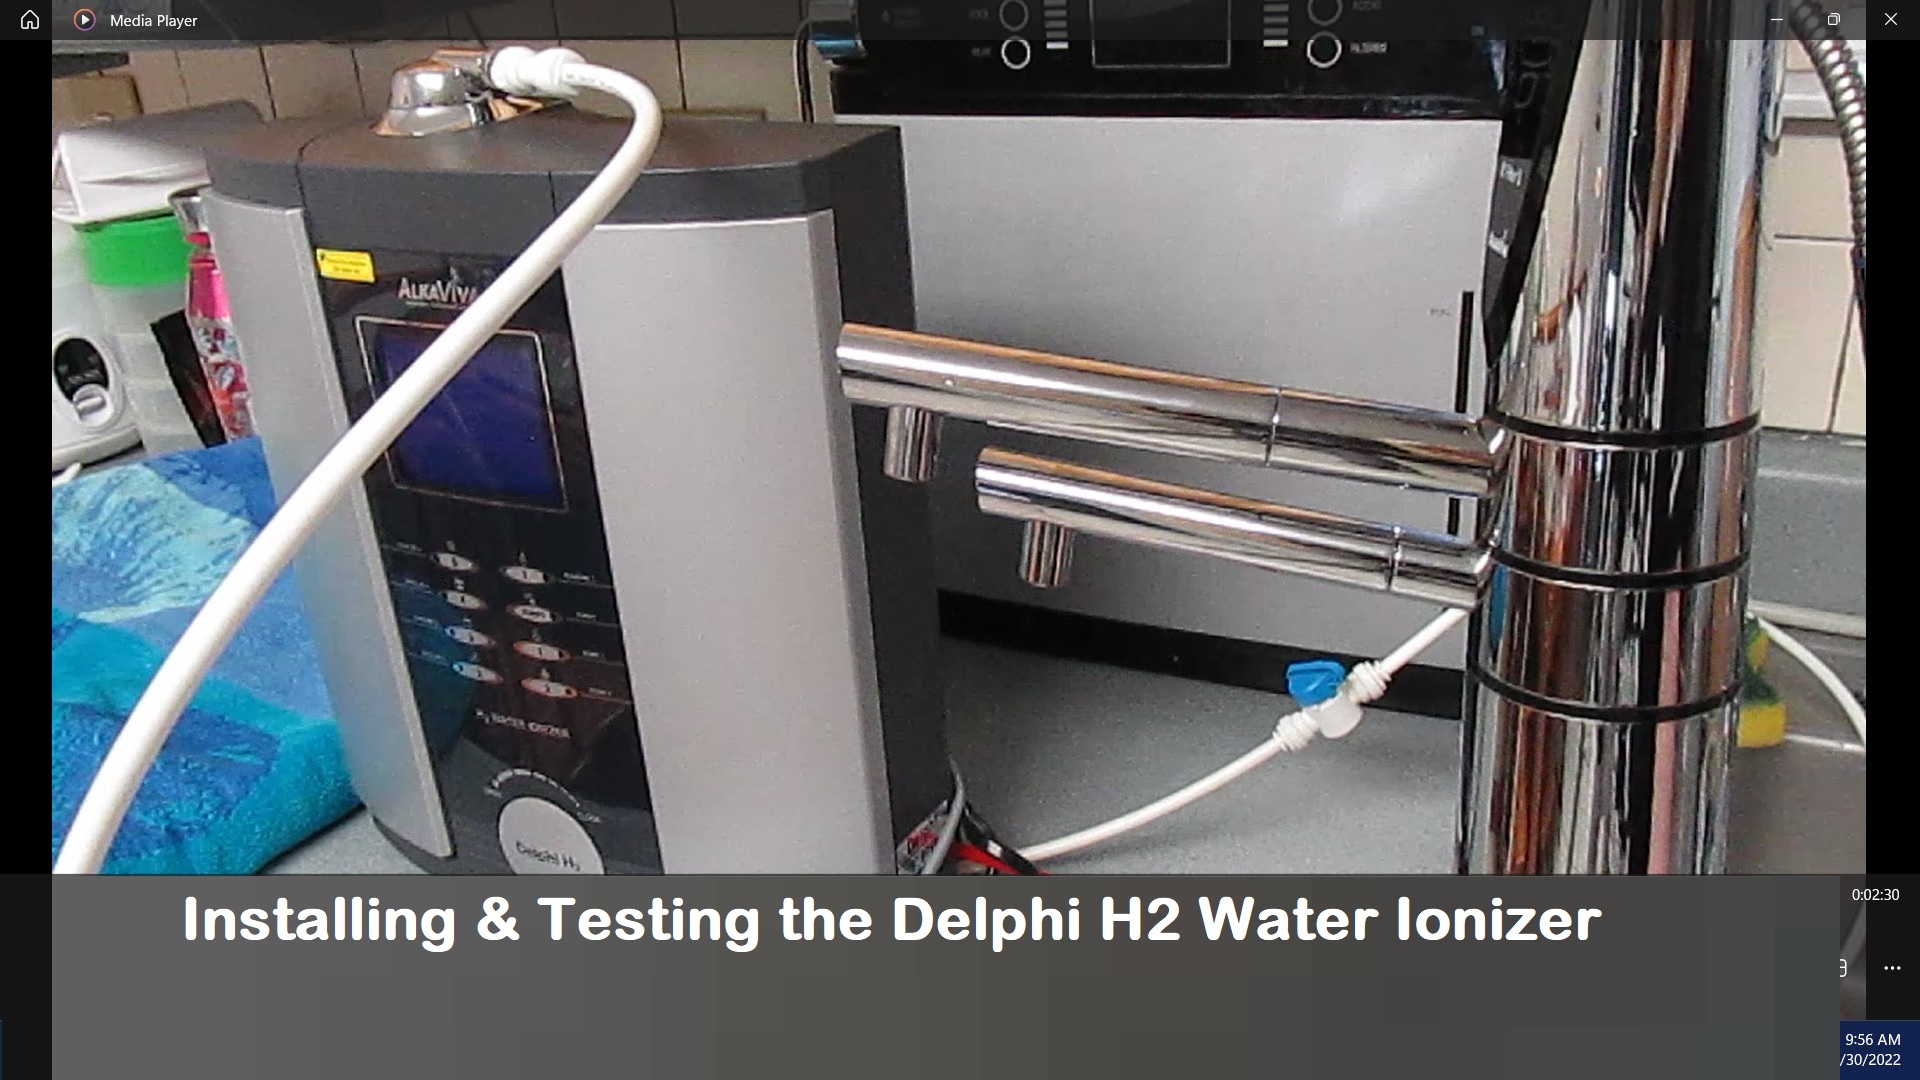
Installing & Testing the Delphi H2 Undersink Water Ionizer
Published by Alkaline Water Plus
Installing the Delphi H2 Water Ionizer
This is a brief summary and video of what's needed to install the Delphi H2 Undersink water ionizer. [Note: You will need a UFI-rated outlet to plug into under the sink.]
- Read the manual and watch the video.
- Make sure you have a hole at your sink for the faucet. The hole should be about 35 mm in diameter. Install the faucet into the hole, using the nut and washer provided, to fix it into place.
- With the water ionizer on the counter, and a soft towel to rest it on, remove the plugs from each port and insert the proper hose for that port as you go. [Note: Be careful with the water-input port, because that plug has to be released by pinching the fitting it's in. (See the first plug I removed in the video)
- Insert all three hoses on the machine before putting it under the sink, just to make it easier on you.
- Put the ionizer under the sink, where you want it. It even comes with anchor screws in case you want it to be attached to the wall.
- Attach the two ionizer output hoses to the matching faucet hoses, and attach the water input hose to the cold water pipe, per the instructions. See this post for more info on that.
- Plug it in and turn on the water. Check for leaks for a full day after you start using it, just to be sure you have inserted all the hoses properly.
The Delphi H2 Water Ionizer Construction
The Delphi H2 water ionizer has the same "insides" as the Vesta H2, 9 large plates, automatic-continuous-cleaning, 5 programmable levels of alkaline and two of acidic water, and has a very sturdy, leak-proof construction as do all of the H2 water ionizers.
The big difference is the beautiful and fully functional faucet that comes with the Delphi H2.
Testing the Delphi H2 Water Ionizer (St. Louis water source)
I am a big fan of testing water ionizers, and the reason is that any company can "claim" their water ionizer is "best" for this reason or that, but the only proof is in the actual, tested results. I have uncovered many mere-mundane water ionizers this way, including ones that cost upwards of $4,000.
The last half of this video shows the testing - for summary of results, see below the video.
ORP (Oxidation Reduction Potential)
Level 1: -677
Level 2: -664
Level 3: -724
Level 4: -783
Level 5: -803
Molecular Hydrogen Levels (H2)
Tested with a Trustlex Hydrogen Meter
Level 1: 848 ppb
Level 2: 813 ppb
Level 3: 1216 ppb
Level 4: 1464 ppb
Level 5: 1533 ppb
PH Levels
Tested with pH reagent
Level 1: 7
Level 2: 7
Level 3: 8.5
Level 4: 9
Level 5: 10
Acidic Water: 3.5
Each Level - Programmable
In looking over the results, above, you might wonder why Level 1 and two are so close in results. This is most likely due to the AutoAdjust programming. I didn't go into programming with this video or this machine at all. It's still at its factory setting for each level (i.e., each level is set at "2" out of 4 possible adjusted strengths). In this case a customer may want to manually program Level 1 to be a bit lower (i.e., set Level 1 at "1" out of the 4 possible strengths for that level), giving only the slightest bit of ionization for that "Level 1" button. A low strength of ionization is useful for pets and young children.
Another popular use for the program feature in H2 water ionizers is at the highest level (Level 5). Some people with set this button up to the #4-strength, just to have the strongest alkaline and acidic waters for cleaning purposes.
The H2 water ionizers come with what's called "AutoAdjust", which senses your water's hardness and fine-tunes the programming for the level you are pouring, to make the output closer to the average demand (of pH/ORP value) for that level. In other words, it gives you the manufacturer's guess at "best" performance for each level of alkaline or acidic water for you.
Customers can bypass this feature, for any level of an H2 water ionizer, and manually adjust it. Each level is set at the factory to "2", out of a choice of 1 through 4. The customer can set any level they want up higher than it came from the factory (to 3 or 4) or lower (to 1). See the User Manual (page 9) for further information about this.
The way you set one level will not influence the other levels.


